
First start
This page takes you from a server that answers to people listening: your administrator account, the console, the first scan, the web player, and the invitations. Do it once, right after installing with Docker or without Docker.
What you need
- Musonic Server installed and answering (
curl http://127.0.0.1:4533/healthgives{"status":"ok"}). - A terminal on the server machine.
- A browser, on the server machine or on another computer.
1. Create the administrator account
Section titled “1. Create the administrator account”The first account is created on the command line. There is no account at all before it, and nobody can sign in.
-
Run the command for your install.
From the folder of the server (where
compose.ymlis):Terminal window cd ~/musonic-serverdocker compose exec musonic-server musonic-server user add <name> --adminTerminal window sudo -u <user> env MUSONIC_CONFIG=/etc/musonic-server/config.toml /opt/musonic-server/musonic-server user add <name> --admin<user>is the user of the service (theUser=line of the service).<name>is the name you will sign in with, for examplealice. -
Type your password, then press Enter.
The command shows
Password for <name>:. The password shows on the screen as you type it: make sure nobody is looking. -
Check the answer.
It says
created <name> (administrator). Your account exists.
--admin makes the account an administrator: it can sign in to the console. Without --admin, the command creates a regular user. Names are unique, upper and lower case do not matter.
2. Open the console
Section titled “2. Open the console”The console is at the address of the server itself. The page you get depends on where your browser is:
| Your browser is | Open |
|---|---|
| On the server machine | http://127.0.0.1:4533 |
| On another computer, HTTPS already set up | https://music.example.com (your address) |
| On another computer, before HTTPS | Through an SSH tunnel (below) |
The SSH tunnel. The server only listens on the machine itself (127.0.0.1:4533). From your computer, this command carries your computer’s port 4533 to the server’s:
ssh -L 4533:127.0.0.1:4533 <account>@<server-address><account> is your account on the server machine, <server-address> its address (for example 192.168.1.20). Leave this window open, and open http://localhost:4533 in the browser of your computer.
3. Sign in
Section titled “3. Sign in”-
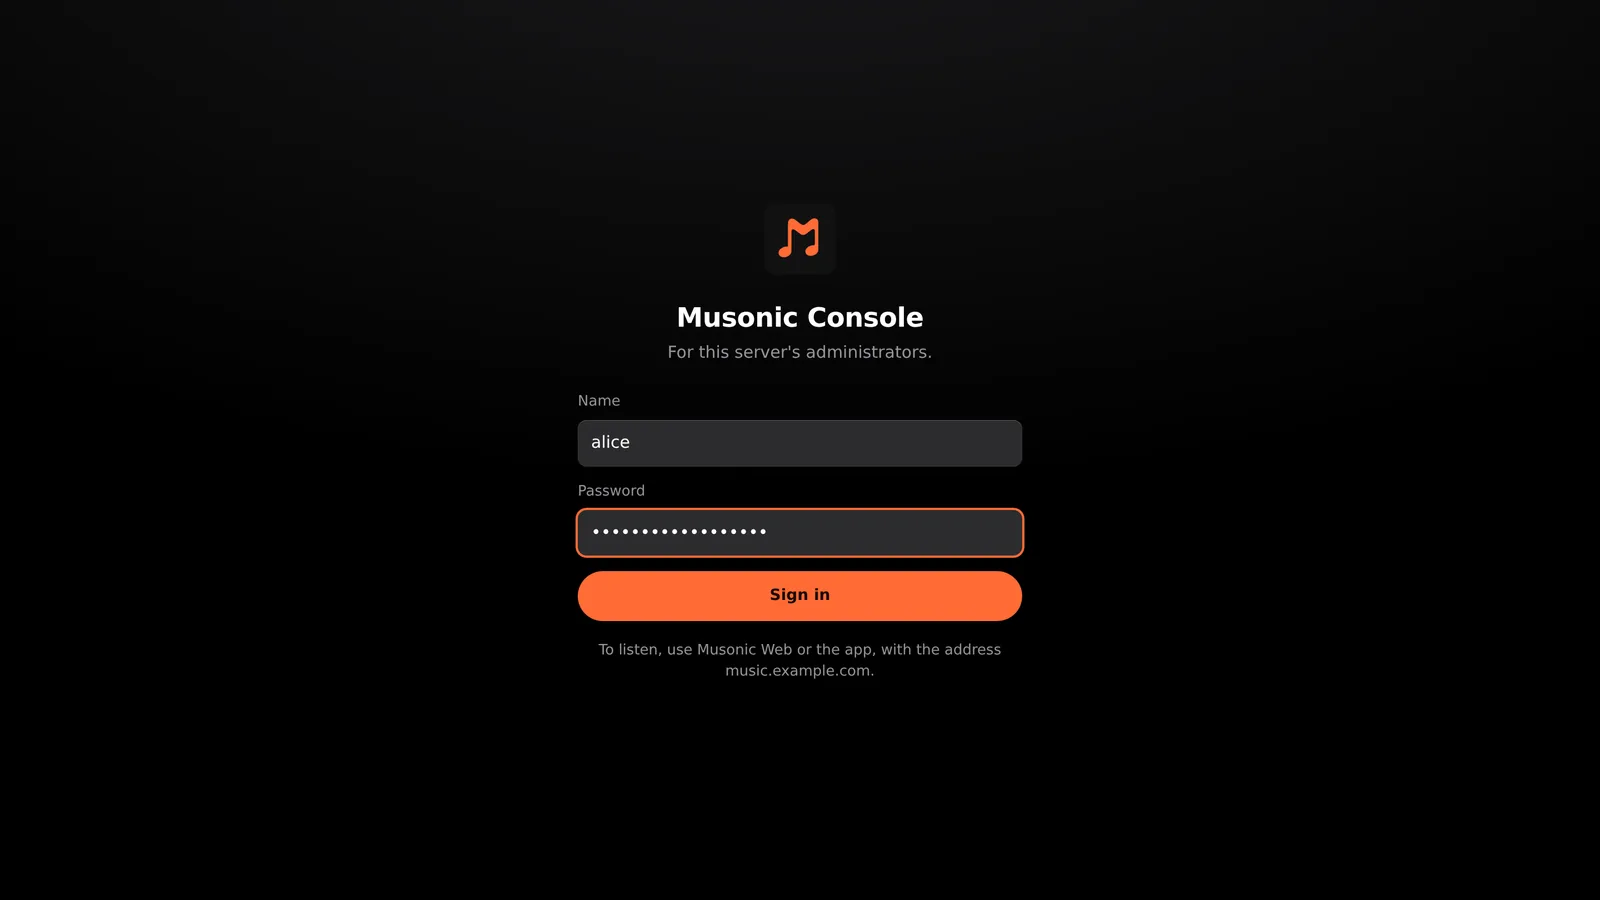
Type your name and password, then click “Sign in”.
The page is titled Musonic Console, “For this server’s administrators”. The line under the button reminds you that people listen with Musonic Web or the app, not with the console.
-
The dashboard opens.
The menu on the left has every page of the console, in three groups: People (Accounts, Devices and security), Music (Library, Imports, Playback) and Server (Data, Settings and maintenance, Activity, Administration log). The bar at the top shows the live state of the server: time running, traffic in and out, people listening, imports, CPU and RAM. The page itself shows the number of songs, albums and accounts, the disk space, the recent activity, who is listening right now and the versions installed.
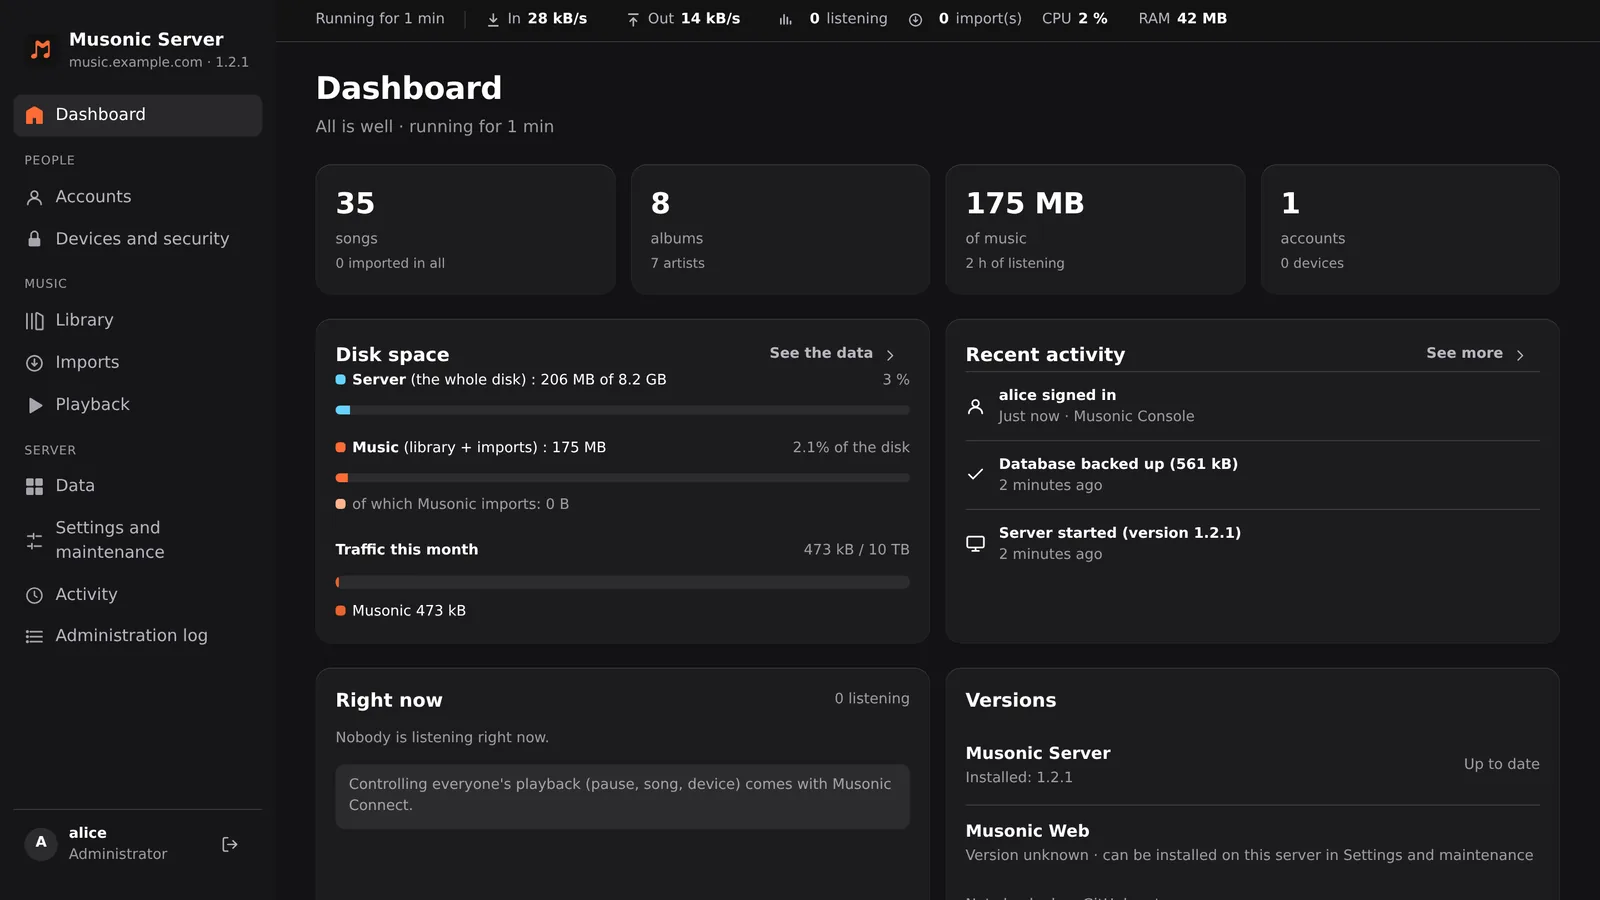
Only administrators can sign in to the console. A regular account sees “You are not an administrator”: it listens with the apps, which are the same for every account.
The console remembers your session in this browser. Sign out is the arrow next to your name, at the bottom of the menu.
4. Check the first scan
Section titled “4. Check the first scan”The server starts scanning your music folder on its own at its first start, and then watches it: a file you add later shows up without doing anything.
-
Click “Library” in the menu.
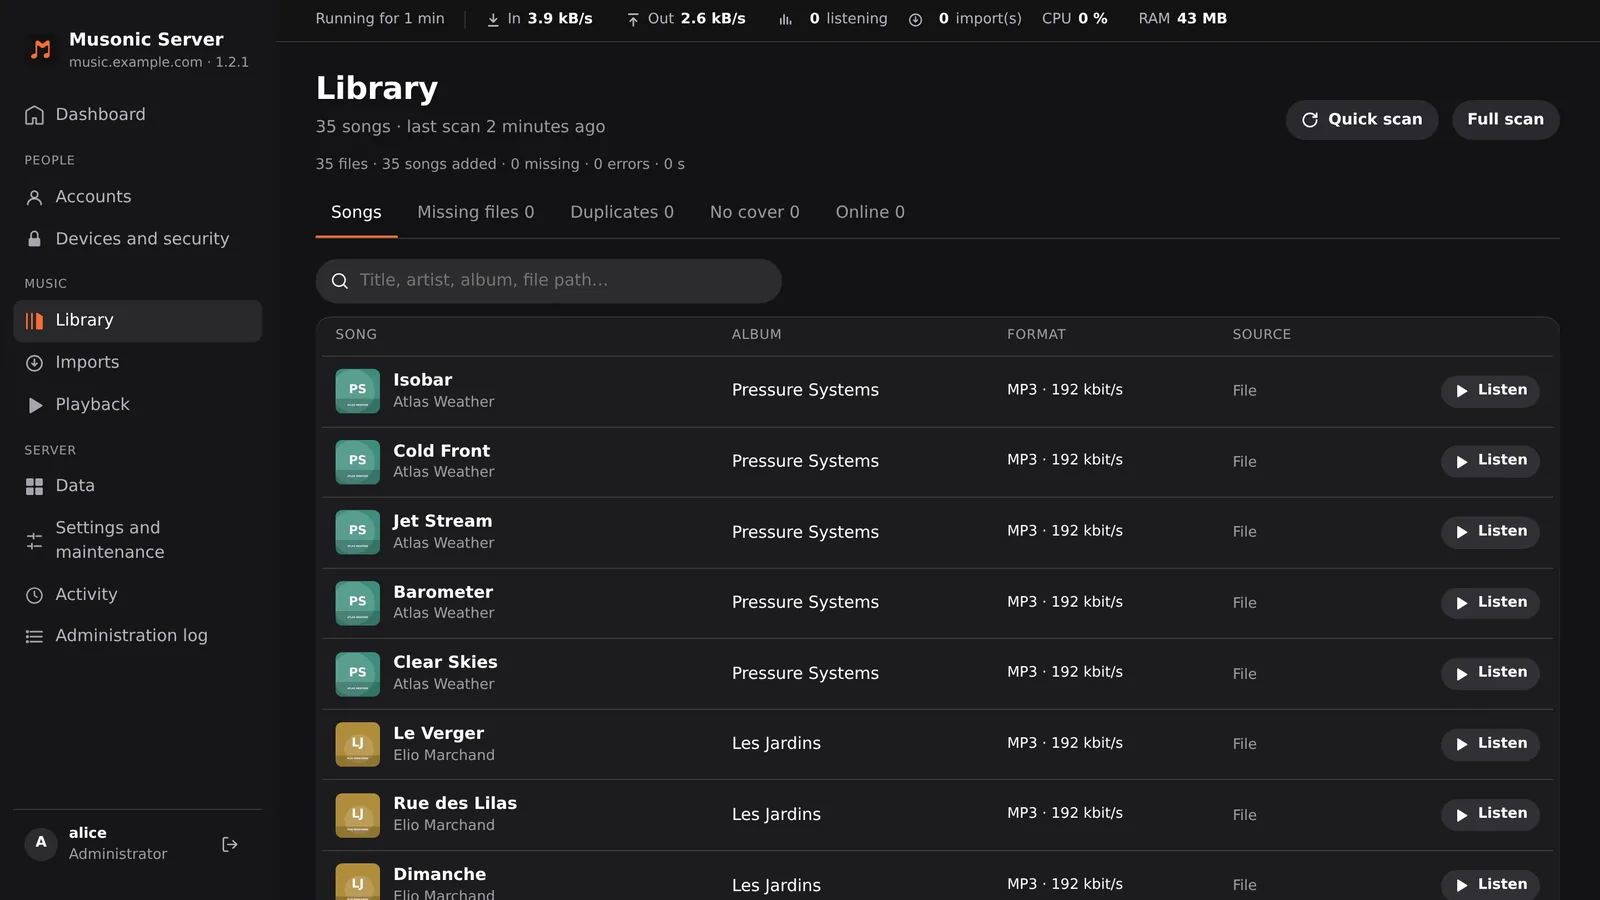
The top of the page shows the number of songs and the time of the last scan. Below, the tabs Songs, Missing files, Duplicates, No cover and Online sort the library, each with its count.
-
If songs are missing, click “Quick scan”, at the top right.
A quick scan reads only the folders that changed. Full scan reads every file again (after editing many tags, for example).
“No music folder is set on this server” means the server has no music folder: check the music folder line of compose.yml (Docker) or music_dir (without Docker). An empty list after a scan usually means a permission problem: see Install with Docker. How the scan reads your files: Scan and updates and Organise your files.
5. Install the web player on your server (optional)
Section titled “5. Install the web player on your server (optional)”Your server can also serve the web player, at the address of the server followed by /app/ (for example https://music.example.com/app/), already set to connect to it. You can also use the web player of this site, with your server’s address.
-
Click “Settings and maintenance” in the menu.
-
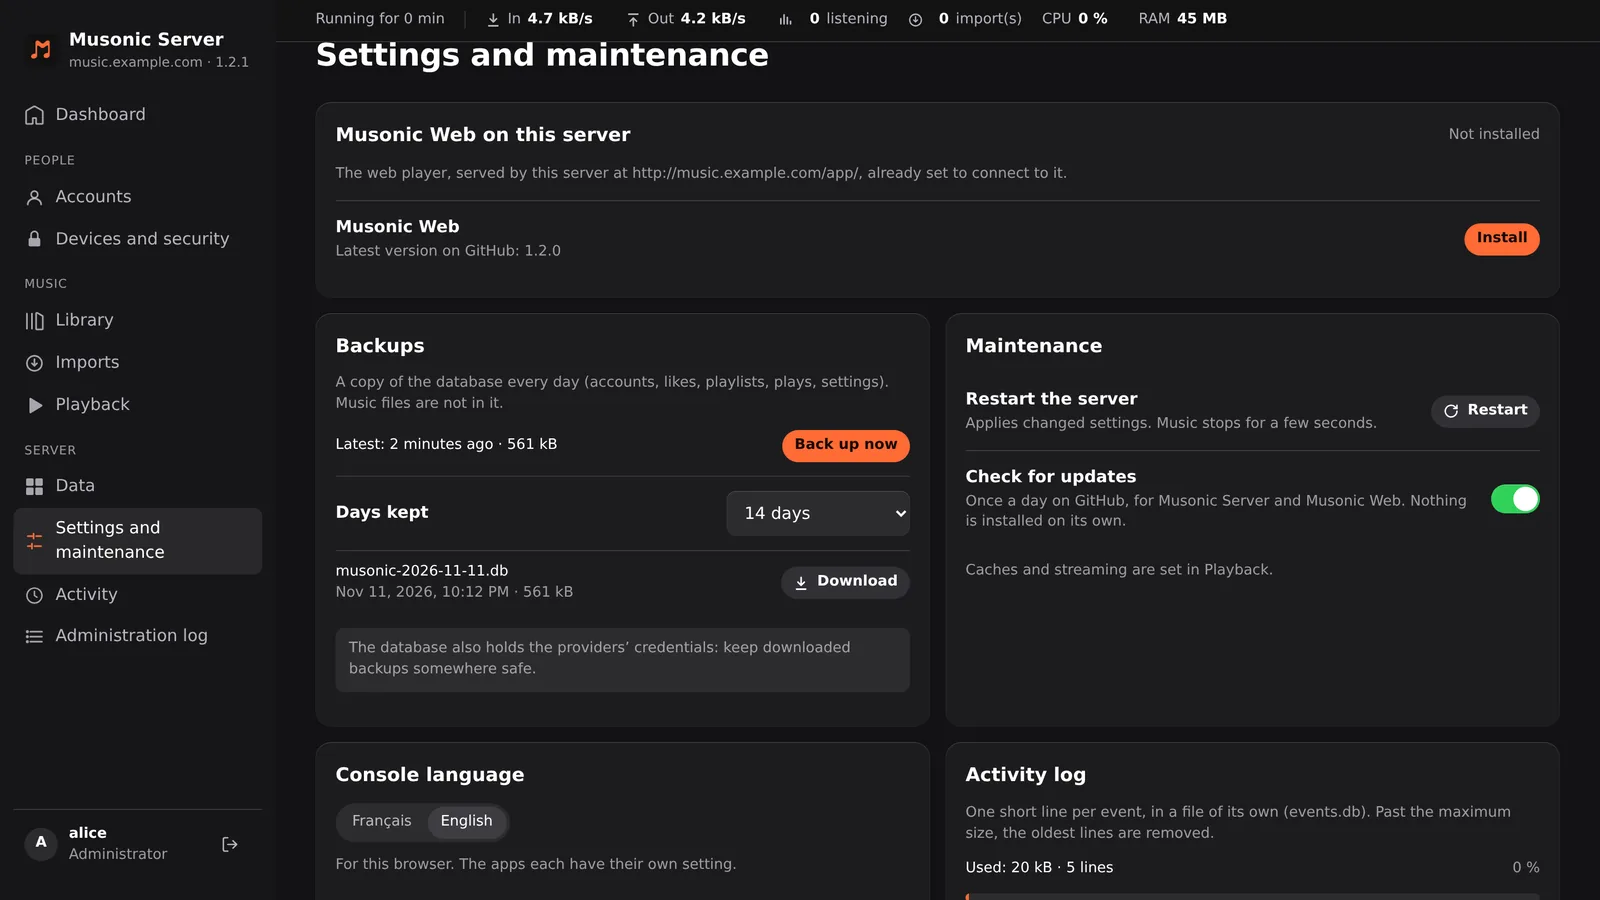
In “Musonic Web on this server”, click “Install”.
This section is at the top of the page. Before the install, it says “Not installed” and shows the latest version on GitHub. The server downloads the newest web player from the GitHub releases of Musonic.
-
Click “Open” to try it.
Later, the same section shows Update when a newer web player exists. Nothing is installed on its own.
6. Invite people
Section titled “6. Invite people”Each person creates their own account from a link: they choose their name and password, and you never see the password.
-
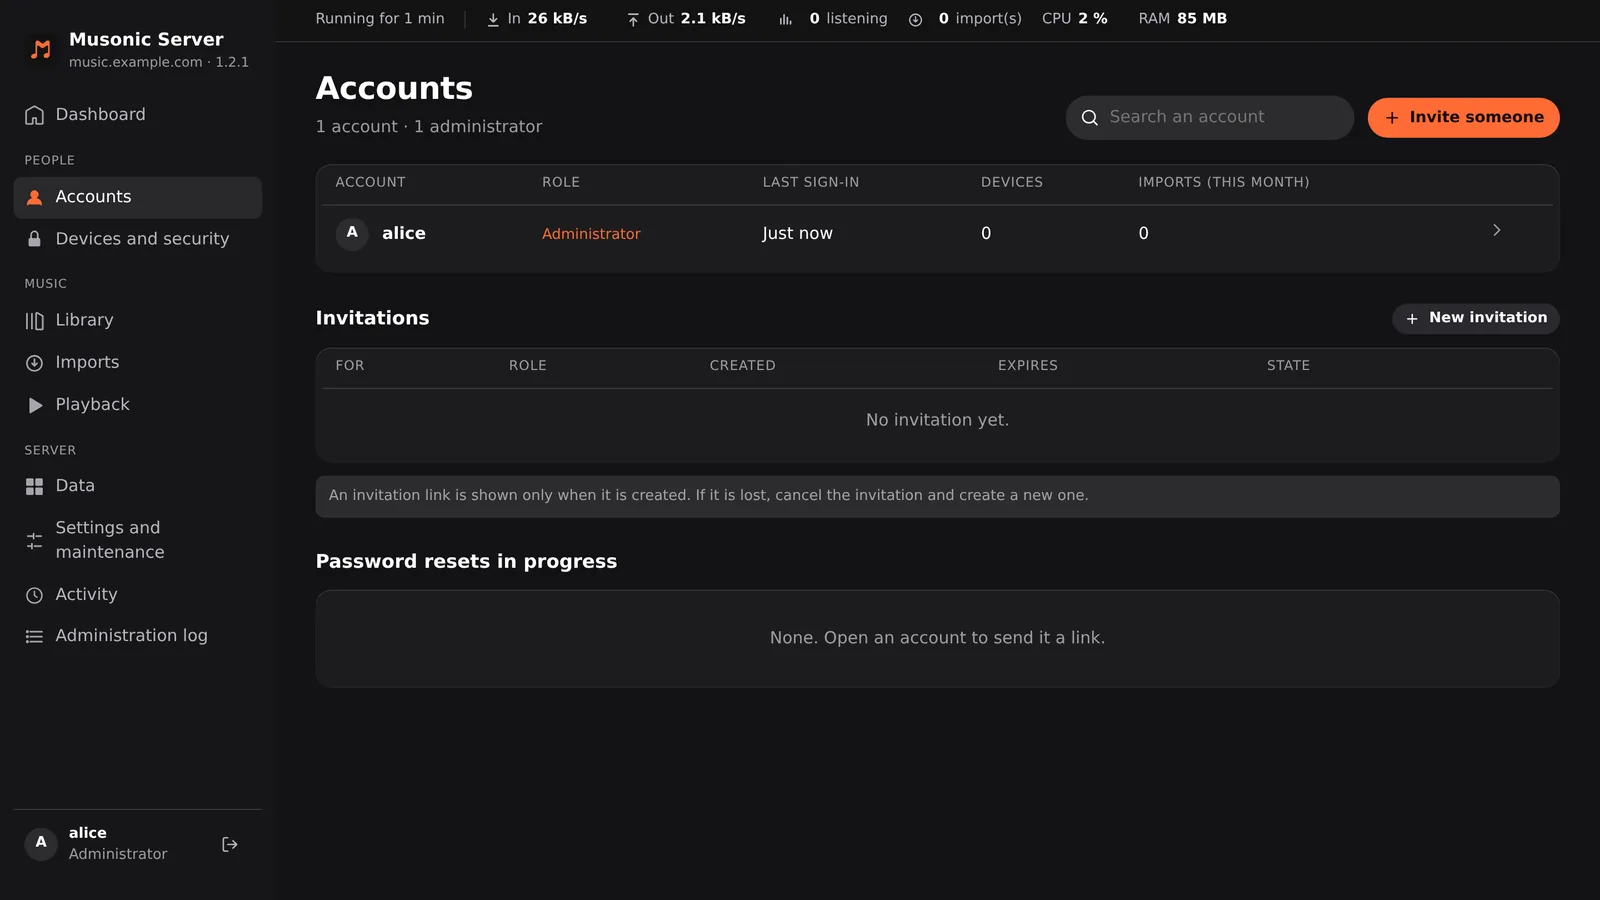
Click “Accounts” in the menu, then “Invite someone”, at the top right.
-
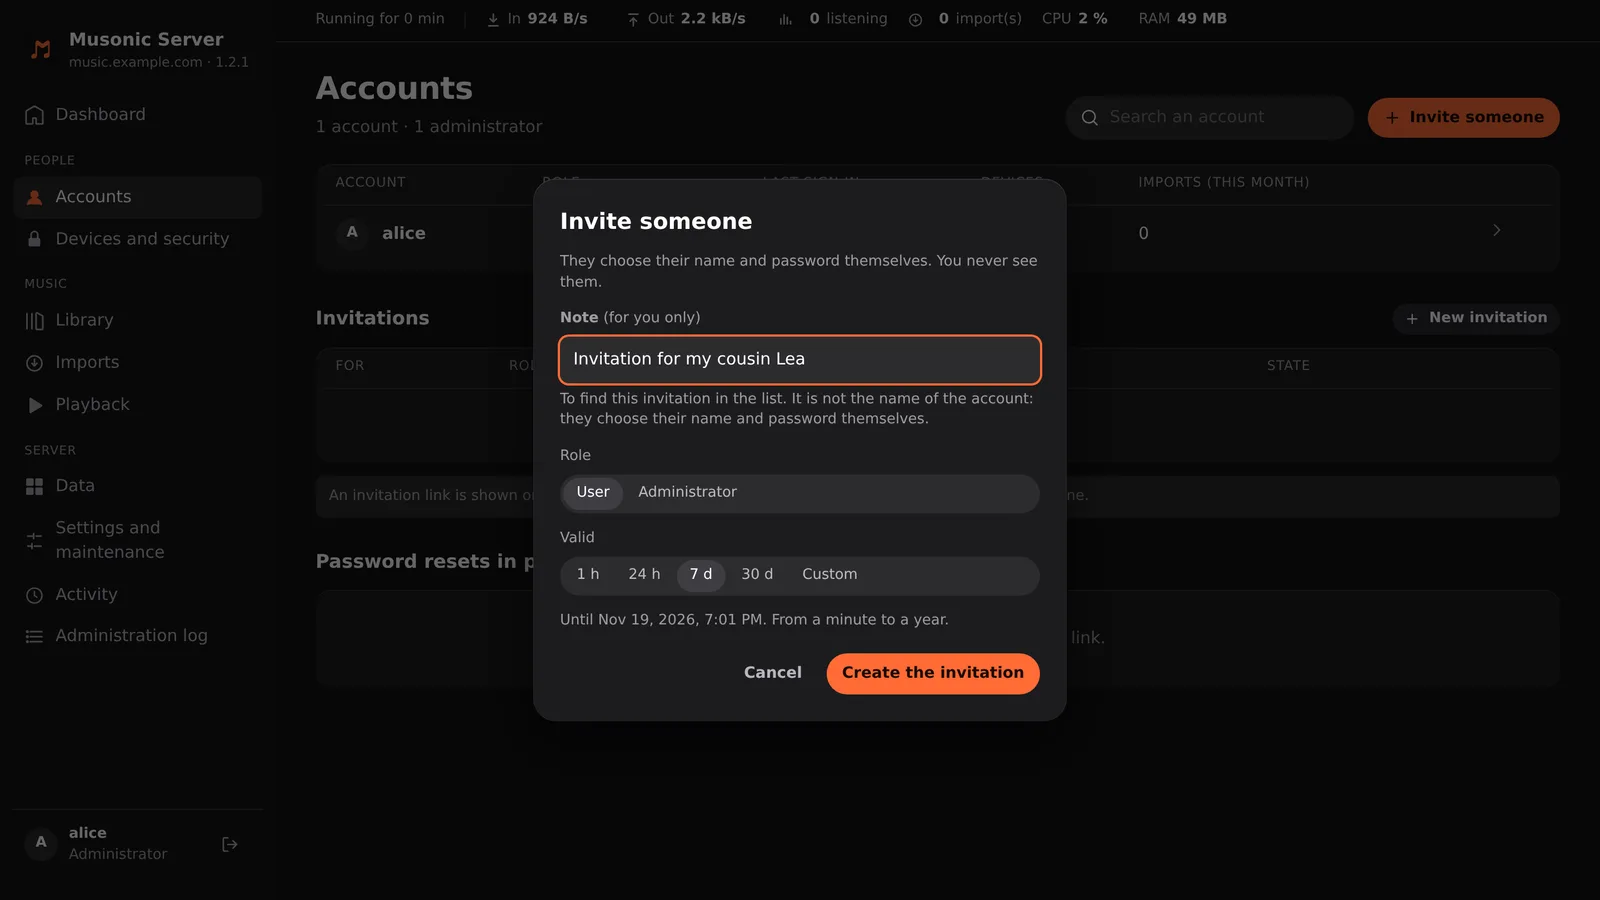
Fill in the invitation, then click “Create the invitation”.
Note: for you only, to find the invitation in the list (“Invitation for my cousin Lea”); it is not the name of the account. Role: User, or Administrator. Valid: 1 h, 24 h, 7 d (the default), 30 d, or Custom (from a minute to a year). The end date shows under the choice.
-
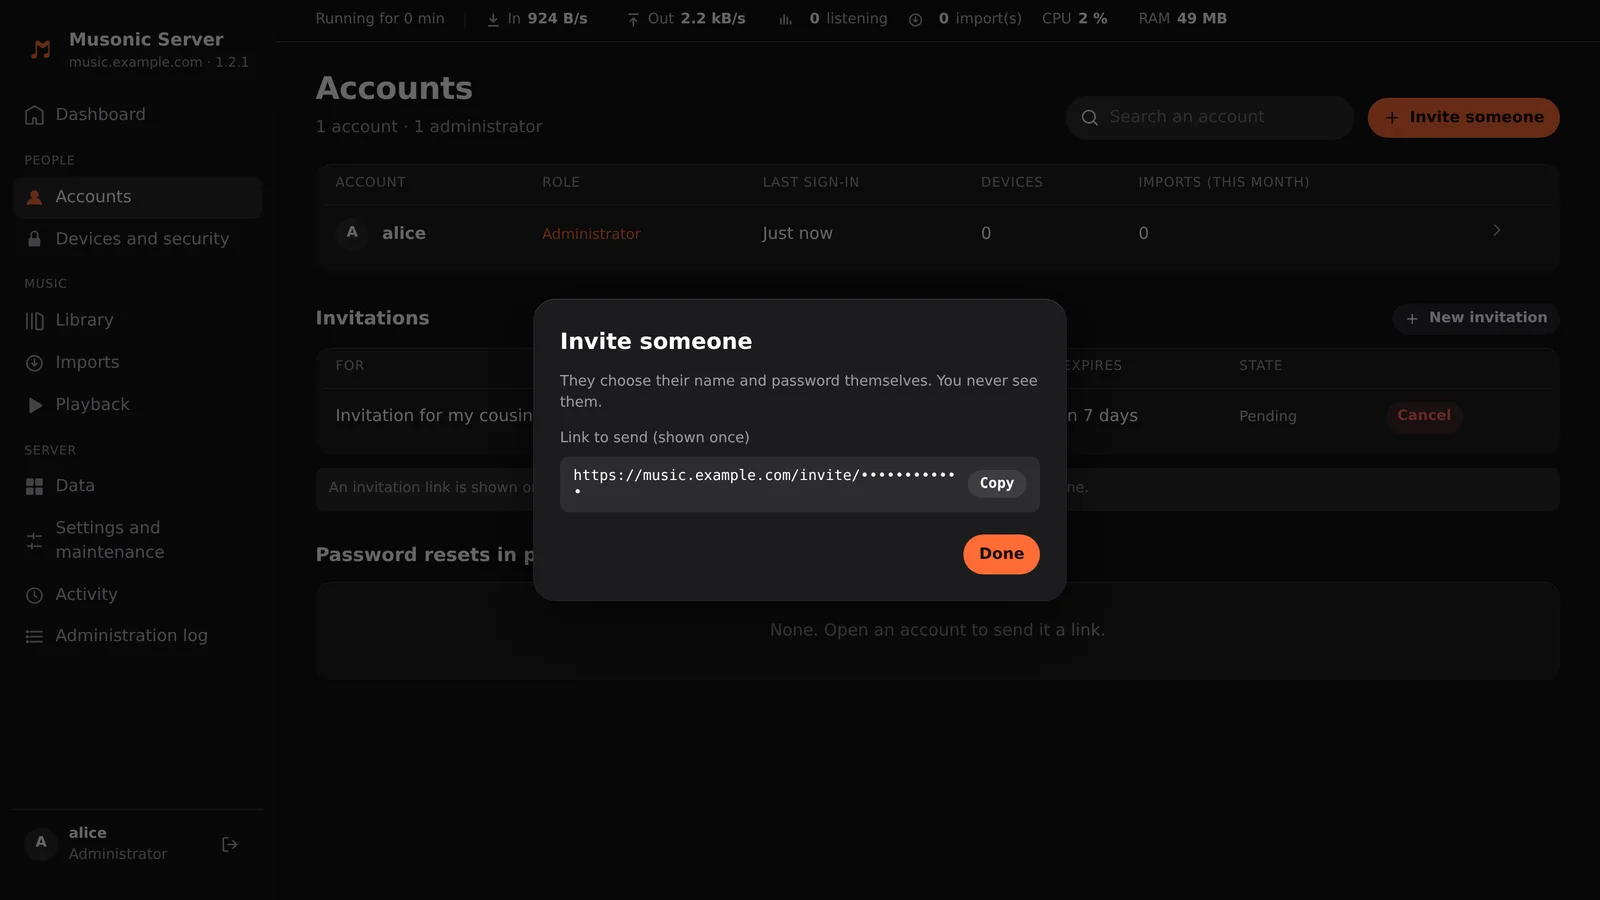
Click “Copy” next to the link, and send it to the person.
The window now shows “Link to send (shown once)”. Send the link by message, by e-mail, as you like, then click Done. The link is shown only now: if you lose it, cancel the invitation and create a new one.
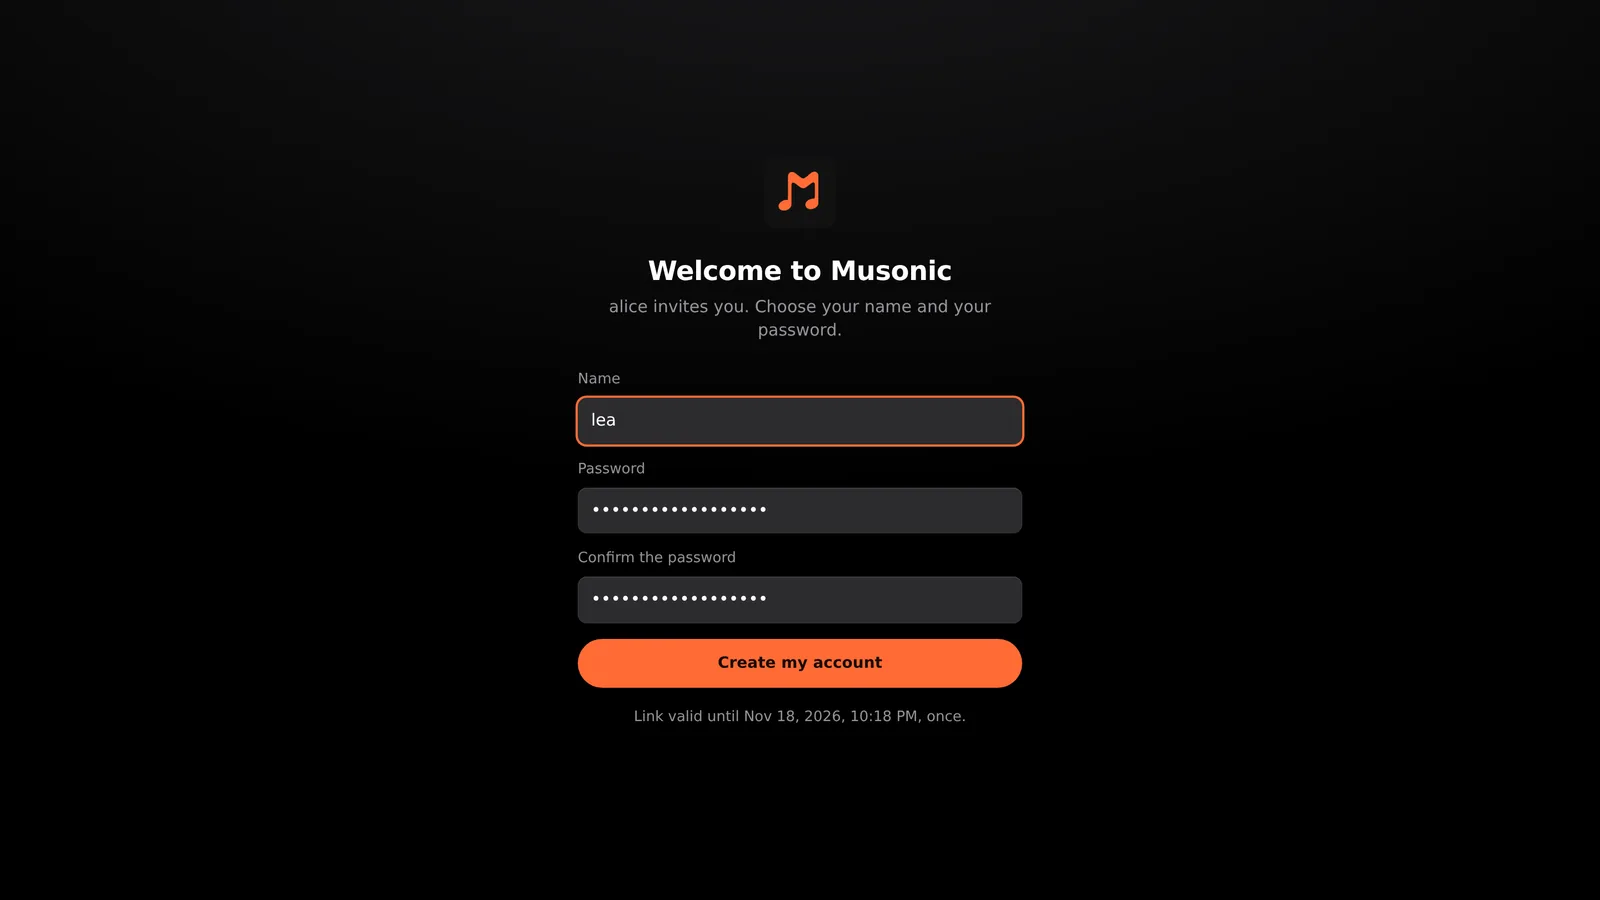
What the person sees. The link opens a page of your server, without signing in:
-
They choose a name and a password, then click “Create my account”.
The page says “Welcome to Musonic” and who invites them. They fill in Name, Password and Confirm the password. The password needs at least 8 characters. A link works once, until the date written under the button.
-
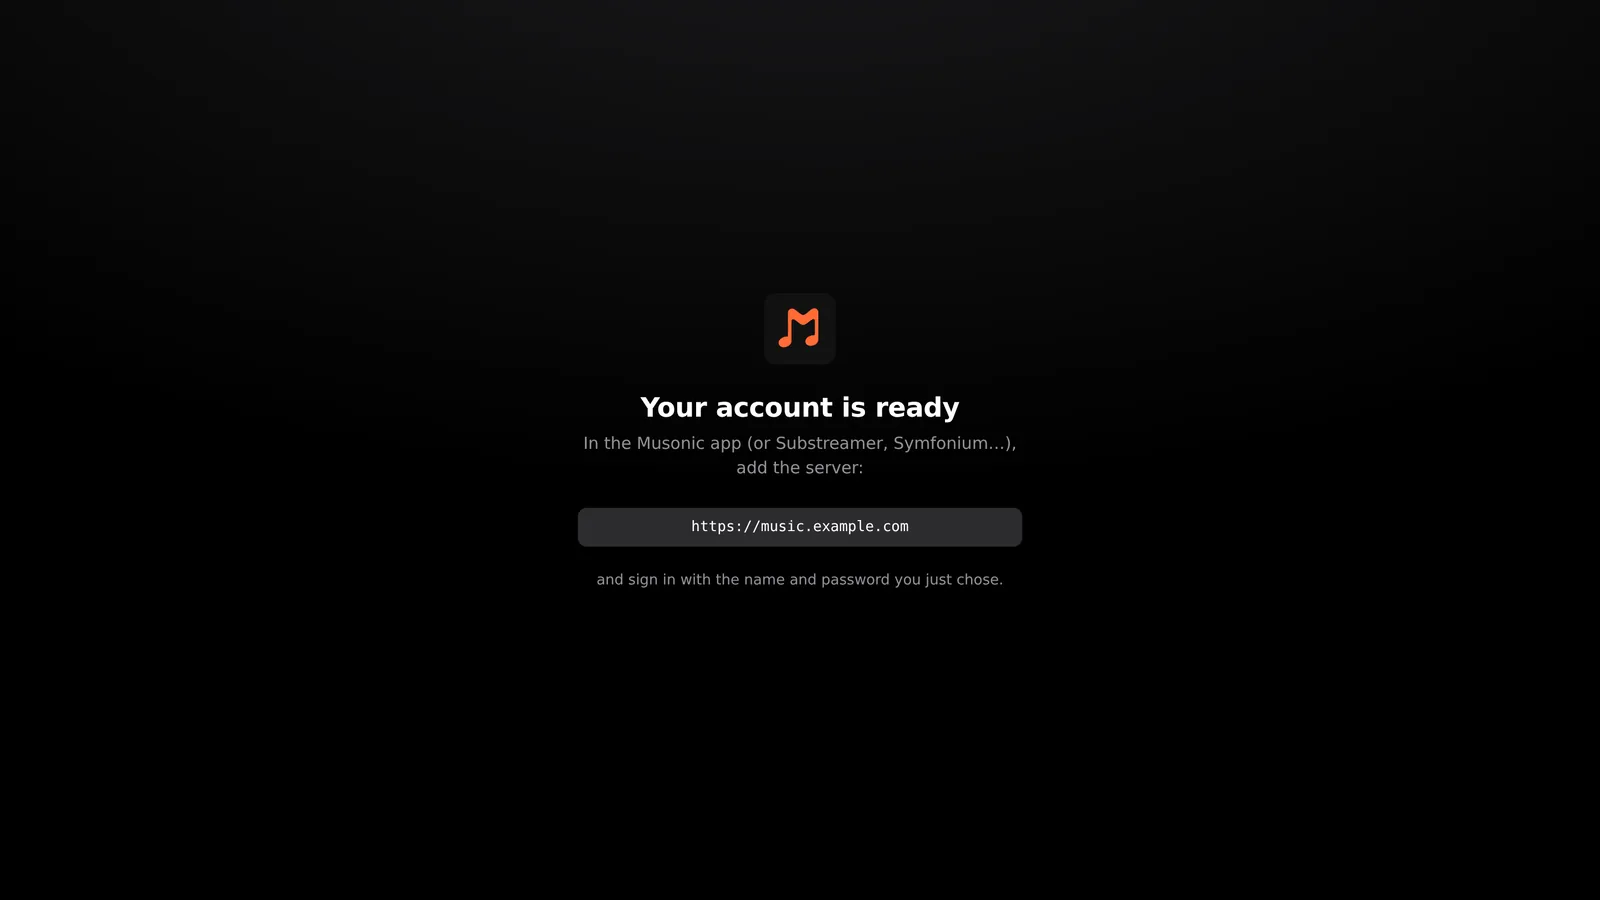
The page says “Your account is ready” and shows the server’s address.
They sign in to the app (the Musonic app, or another Subsonic app such as Substreamer or Symfonium) with this address, their name and their password.
The invitation list of the Accounts page shows each invitation’s state: pending, used by whom, expired or cancelled. Rights, quotas, password reset links and suspensions are explained in Accounts, rights and devices.
7. Sign in to the apps
Section titled “7. Sign in to the apps”In each app, you enter three things: the server’s address, your name and your password.
- Android app: “Server URL”, “Username”, “Password”, then “Connect”. See Install the Android app.
- Web player (computer, iPhone, iPad): “Server address”, “Username”, “Password”, then “Sign in”. See The web player and On iPhone and iPad.
- Other Subsonic apps: the same three things. See Other Subsonic apps.
The address is the one of the server, with https:// (for example https://music.example.com). At home, the Android app also accepts an http:// address of your home network, such as http://192.168.1.20:4533. Step-by-step pictures: Sign in to a server.
Next steps
Section titled “Next steps”- Reach it from outside (HTTPS).
- The console: every page in detail.
- Backups and restore.